 Riders Preferred Membership
 Log In
 Shop by Vehicle
 Track Order
 Contact Us
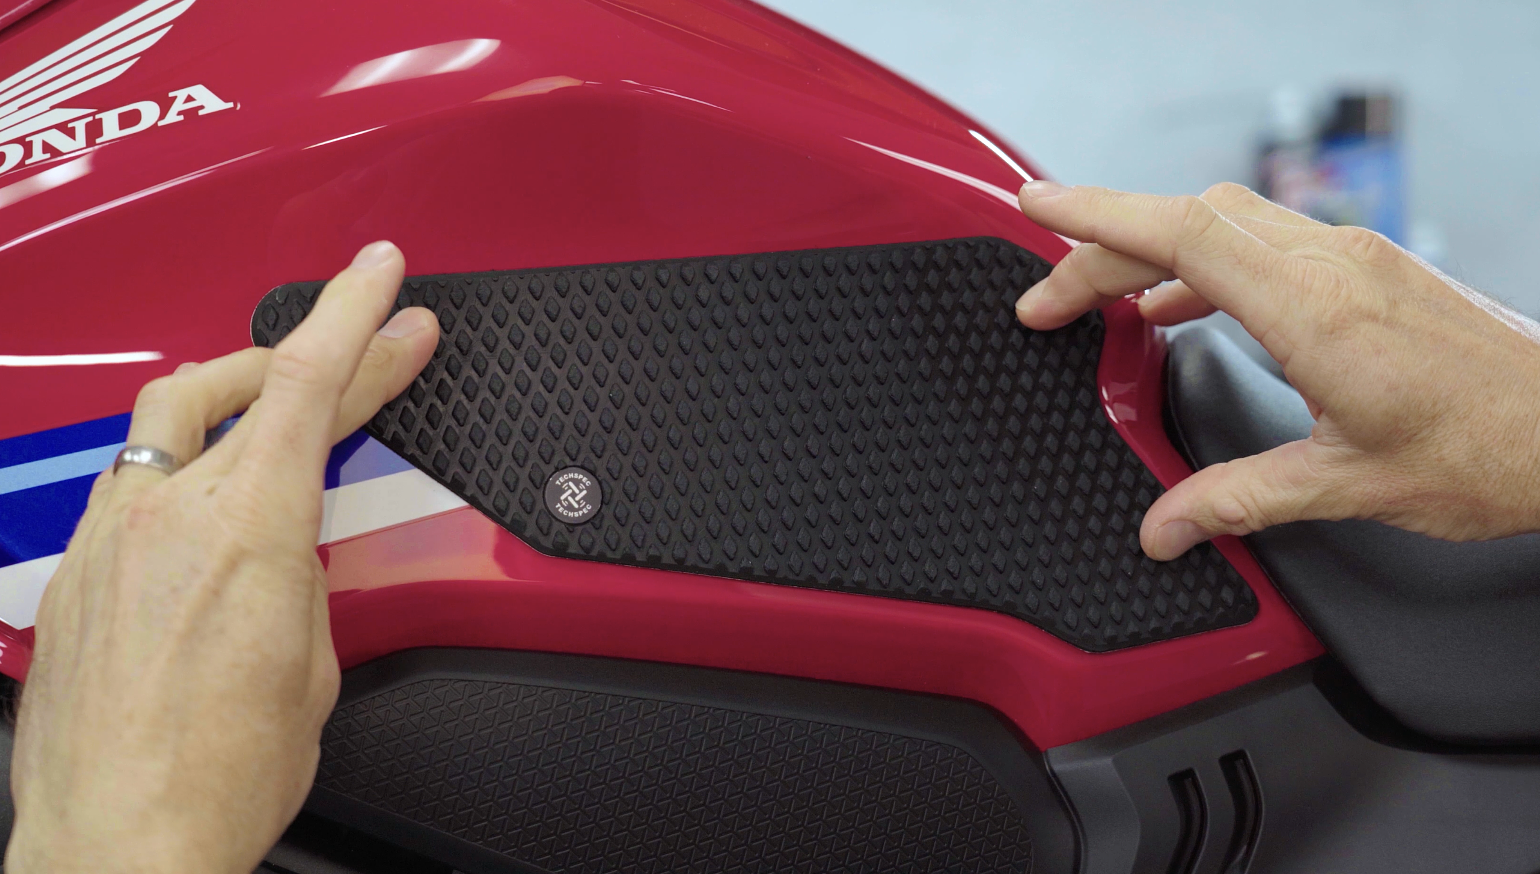
Tank grips — those rubber, textured pads on a tank’s flanks — are a lot like quickshifters and heated grips. Before you’ve used them, you may think they’re gratuitous or just for style, but after you try them, they become a gotta have.
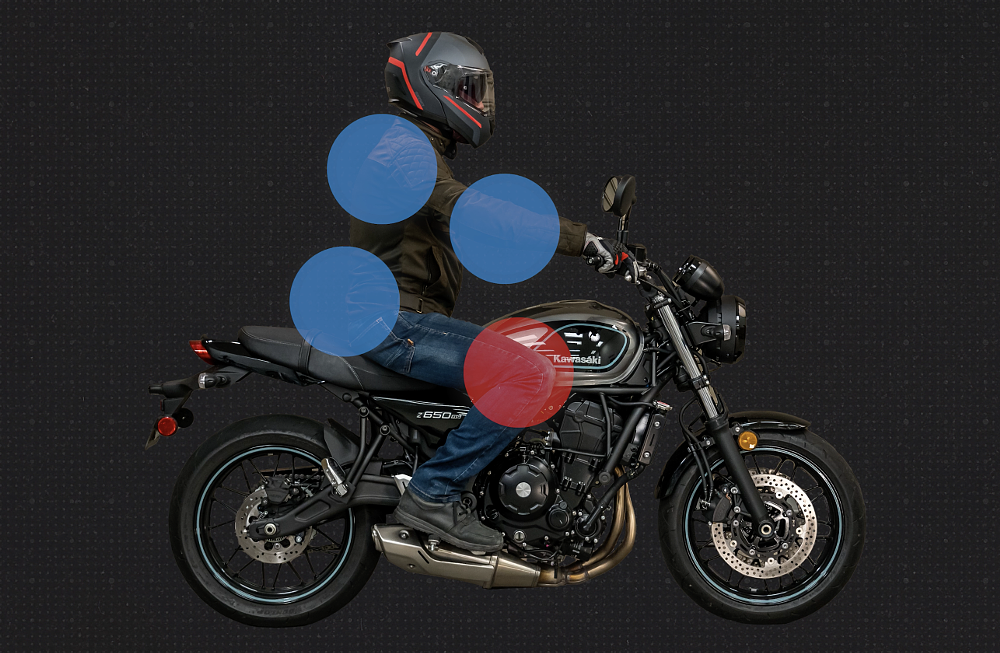
What’s the big deal? Well, a motorcycle’s gas tank is the largest interface you have with the bike, and grips make it easier to clamp the tank and anchor yourself in position. That gives you better control while cornering and especially under hard braking. A secure foundation also helps put you in tune with what the tires and suspension are doing because you can maintain a lighter, more delicate grip on the bars.
Tank grips are popular with sport riders and racers, but they’re also useful for commuting, touring, and even adventure and off-road riding, since bracing yourself with your knees means less strain and fatigue on your arms, shoulders, and lower back. Tank grips also protect the paint from hazing due to constant contact with your knees.
Basically, whatever kind of riding you do, tank grips are a helpful, effective mod. But there are a lot of options out there, and you may be wondering which style of tank grip works best for what, and how to install them properly.
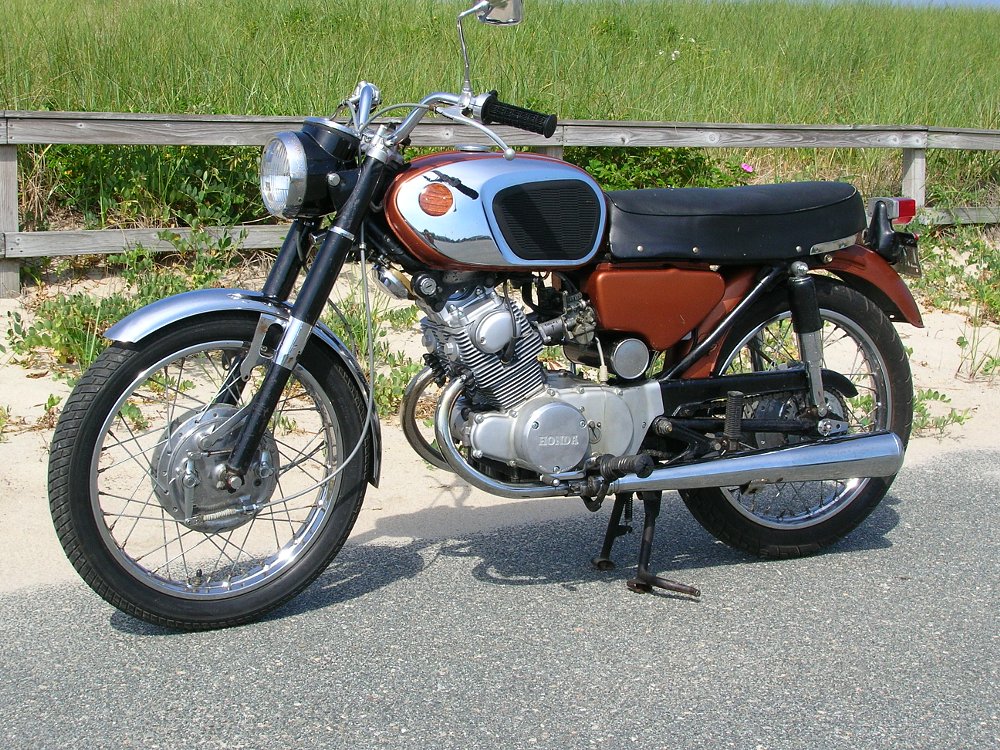
As a general rule, smoother, softer grips like the TechSpec Snake Skin, R&G Traction Grips, and Stomp Grip Icon are appropriate for most riders, while more aggressive designs like Stomp Grip’s Volcano and Super Volcano profiles are best reserved for track days and racing where traction takes precedence over comfort. The latter styles’ rigid nubs don’t feel great through jeans, but they offer incredible traction when wearing leathers.
Most companies offer model-specific kits that are cut to fit your tank, but there are also generic shapes and cut-to-fit sheets available. Installing them is fairly easy, but if you want your grips to stay put and not peel up you need to clean the tank properly, especially if you’ve previously applied wax or polish. Windex is acceptable, but rubbing alcohol and a clean rag is the best way to go.
Before you remove the grip’s paper backing, size it up on the bike to see where it’s going to fit best. It’s helpful to have some reference points, like the seat edge or ridge of the tank, or you might even mark the edge locations with painter’s tape.
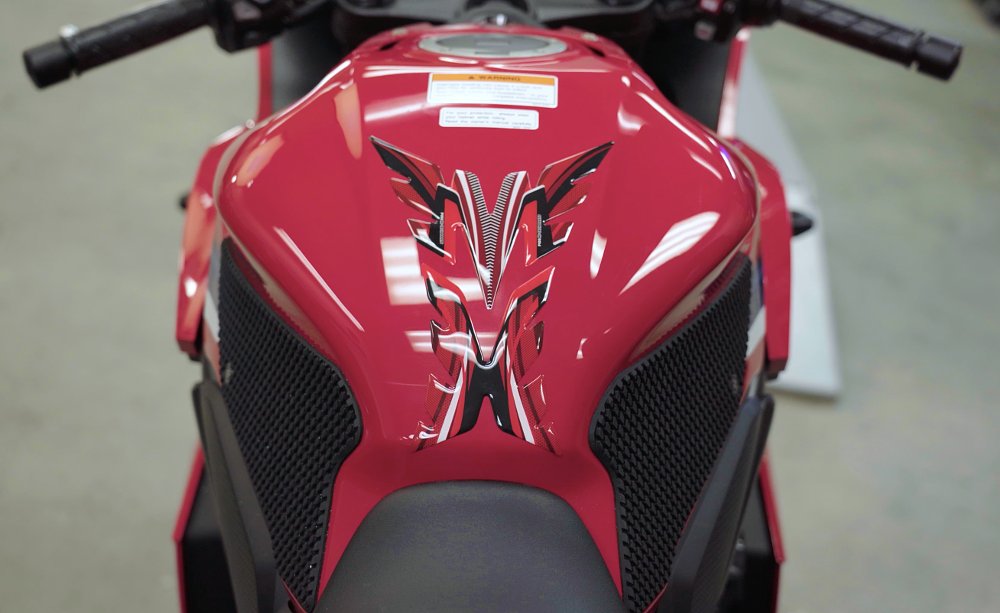
Then, fold over a small section of the backing paper to expose the adhesive, and while holding that corner away from the tank, position the grip. Once you have it where you want it, press the exposed corner into place as an anchor and then slowly peel off the rest of the backing, pressing the grip into place as you go. Once the grips are in place, allow 24 hours for the adhesive to fully cure before going for a ride.
If you happen to be doing your installation in the winter, it will be helpful to heat up the tank and grips with a hair dryer. This improves the grips’ pliability and promotes adhesion.
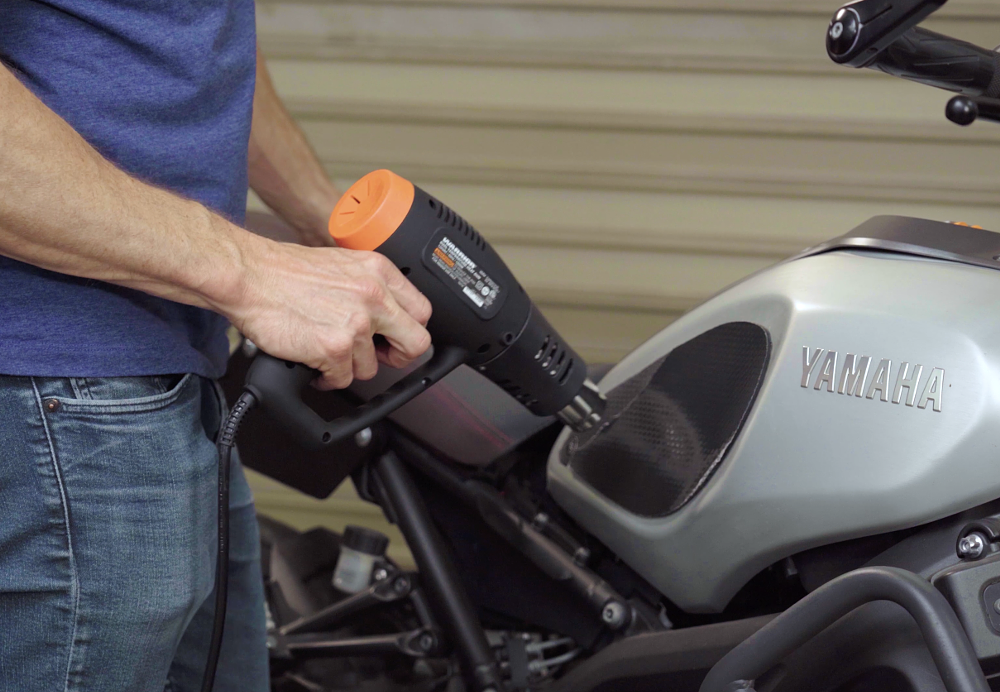
Tank grips will wear with use, but they usually last several years or more. When the time comes to remove them, it helps to warm things up to soften the adhesive. So either park your bike in the sun or hit the grips with a hair dryer or heat gun, then peel up an edge and carefully pull it off.
Then wipe the tank down and slap a fresh set of grips on, because once you try them, you won’t want to go without.
Image Gallery