 Riders Preferred Membership
 Log In
 Shop by Vehicle
 Track Order
 Contact Us
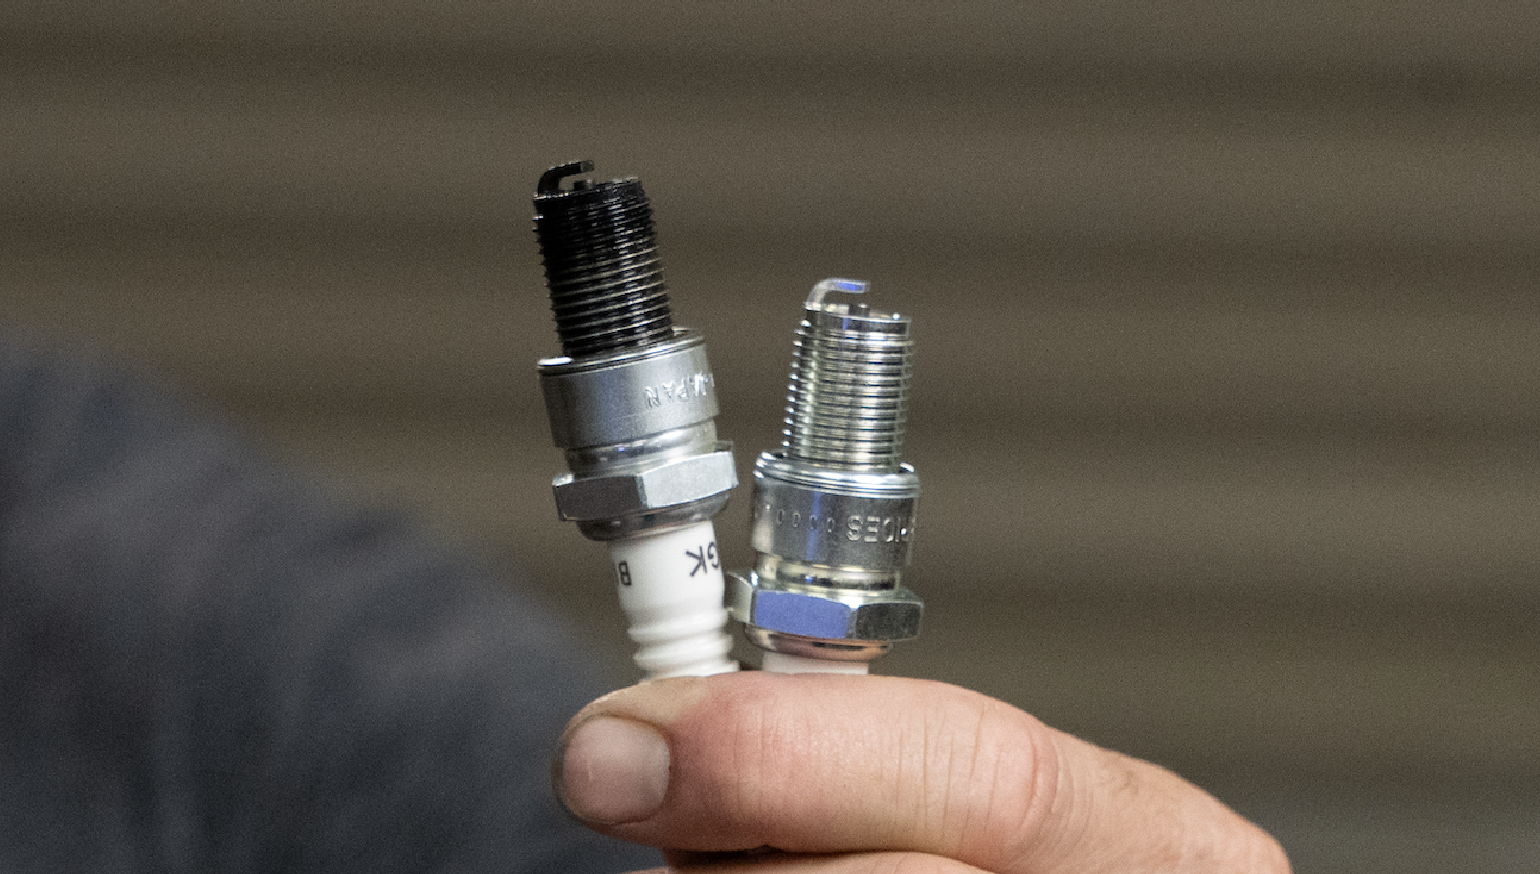
The old proverb “out of sight, out of mind” applies to many things on a motorcycle, but few are overlooked more often than the spark plugs. Replacing them is critical maintenance, and while it’s not technically difficult to do, there are a few ways you can screw it up.
If your bike seems to run OK, why bother replacing the plugs? As the miles rack up, each spark plug’s electrode and ground strap erodes, widening the gap. That can cause poor throttle response, reduced power, and increased fuel consumption.
This all happens gradually, which means you’re unlikely to notice a problem until things get really bad. That’s why it’s important to reference your bike’s service manual and replace the plugs on time.
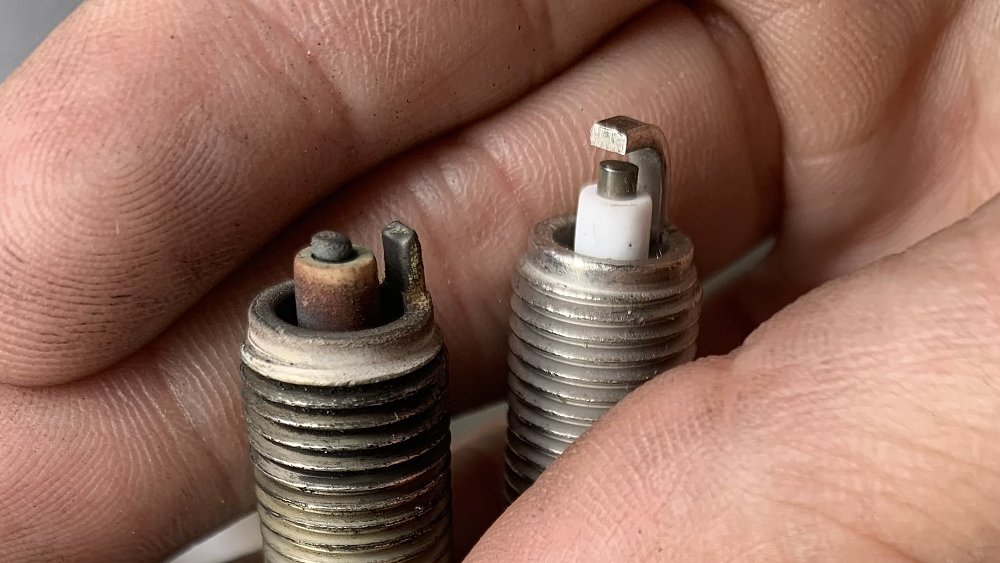
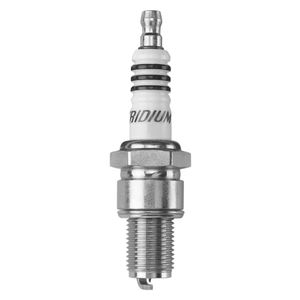
The replacement interval for your plugs depends on the bike. It could be as short as 5,000 to 7,000 miles on an older, carbureted model with nickel-alloy plugs, or as long as 15,000 to 30,000 miles on a modern EFI bike with iridium or platinum plugs. Those metals refer to the material used at the tip of the plug — everything below that is the same.
Access
Replacing plugs is technically easy. Getting to them is another story. On many modern motorcycles, you have to remove a bunch of bodywork, the gas tank, and the airbox to even see the plugs. That’s why I often combine the job with an air filter check or a valve-clearance inspection.
Removal
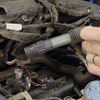
Older bikes usually have plug wires and boots, while newer machines use coil-on-plug “sticks.” In either case, pull on the cap, not the wire, to avoid damage.
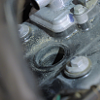
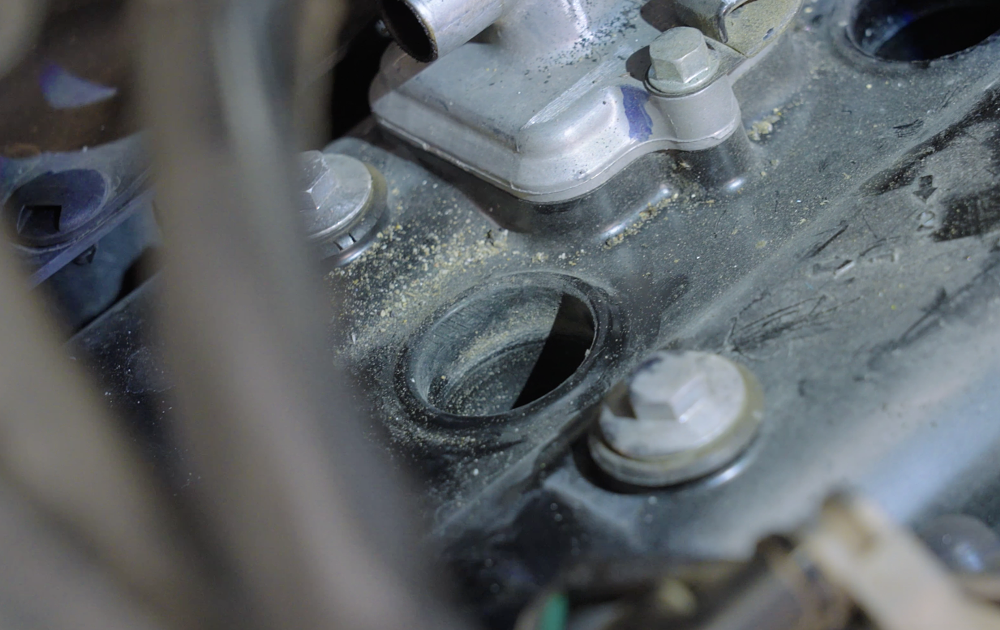
Plugs are almost always recessed into the cylinder head, and those cavities collect grime. Blow the area out with compressed air or even canned air before you unscrew the plug. Otherwise, that debris could fall into the combustion chamber and turn this simple maintenance procedure into a much more stressful operation.
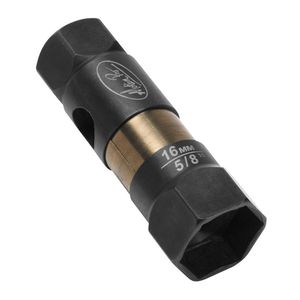
Once the hole is clean, remove the old plug. A standard deep socket can work, but a dedicated spark plug socket is slimmer and has an insert to grip the plug. If the plug doesn’t come out with the socket, you can retrieve it with a magnet on a stick (the home mechanic’s MVP) or a snug-fitting hose.
Inspection
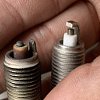
With your spark plugs out, it’s good to give them a thorough inspection and look for clues about what’s going on inside your engine. While there’s a lot of nuance to “reading” a plug, the general idea is this: The insulator should be light tan to dark brown. If it’s black and oily or white and blistered, something’s not right.
Gap
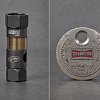
It’s also important to check the gap between the center electrode and ground strap against what’s listed in your manual. You can use feeler gauges or a spark plug gap gauge. These are at the checkout counter of every autoparts store, or they’re $2 on RevZilla.
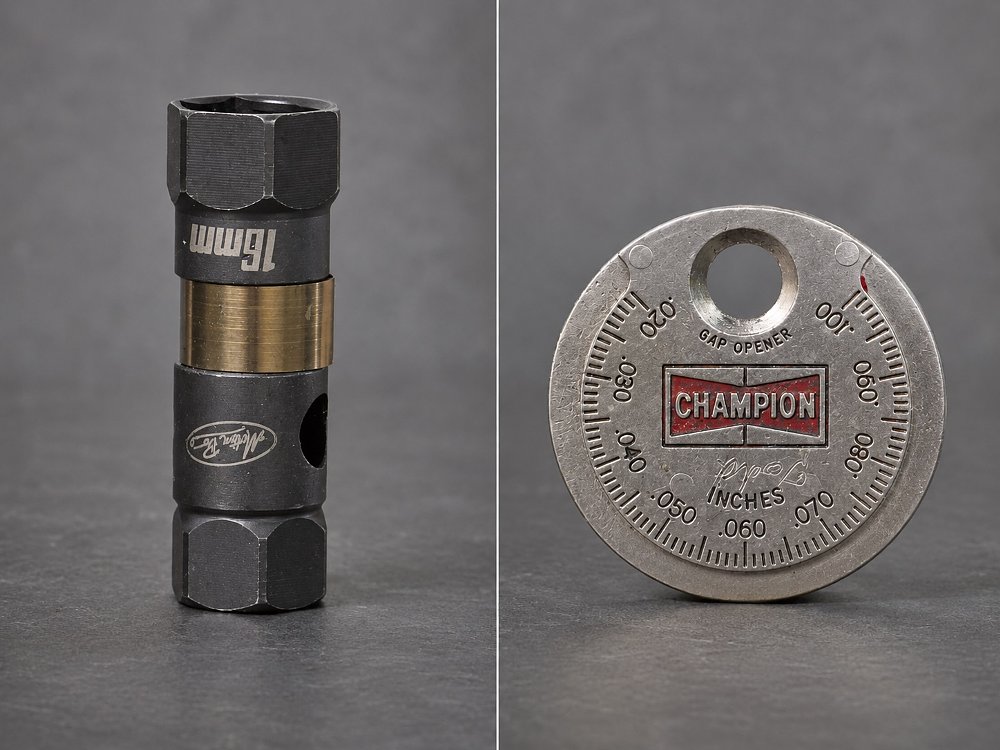
Platinum and iridium plugs are usually in spec right out of the box, but nickel plugs often need to be adjusted. To close the gap, just press the strap against your workbench or a firm surface to bend it in a tiny bit. If you need to open the gap, that’s what the hole in the gap gauge is for.
Installation
Now that your plugs are gapped you’re ready to install them, and you might be wondering if you should apply antiseize to the threads. Older (as in pre-War) plugs were bare steel and needed it. Today’s plug shells are plated to resist corrosion, so anti-seize isn’t required. If you do use it, avoid the upper few threads (you don’t want that stuff migrating onto the firing end) and reduce the installation torque by 20% to 30%, since anti-seize acts as a lubricant.
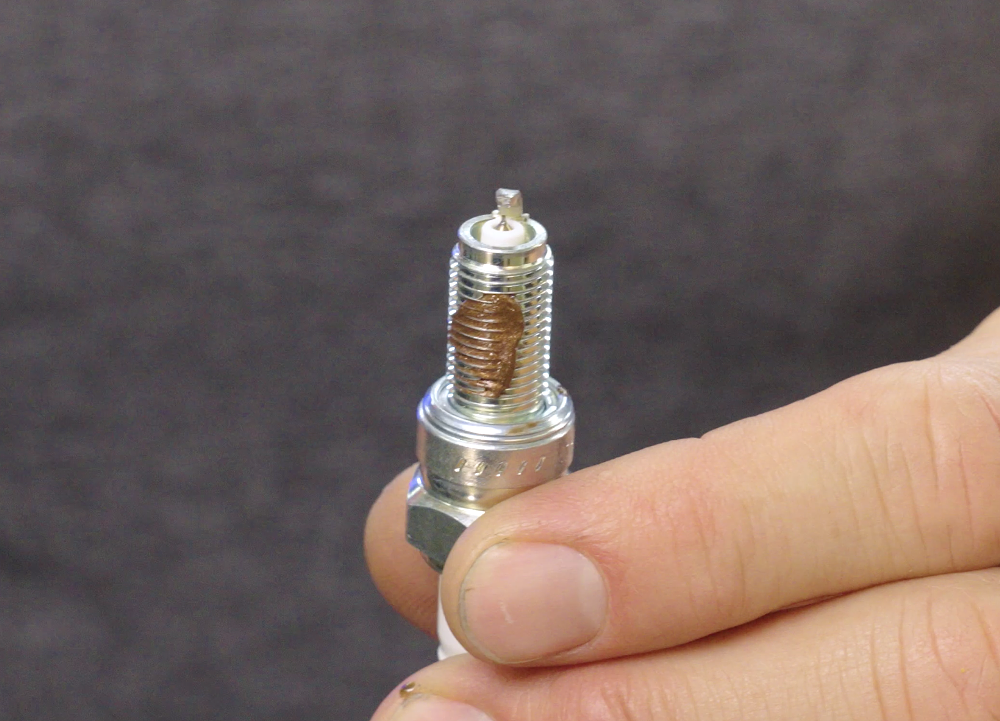
Starting the plug straight is critical — cross-threading a cylinder head is an expensive mistake. That’s why I recommend threading plugs in by hand. A hose can help if access is tight.
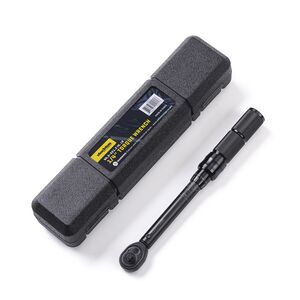
When you’re ready to tighten the plug you can find the torque in your owner’s manual or on the box the plug came in, and odds are it’s going to be in the 10-to-14 foot-pound range. You might be thinking, great, my torque wrench goes from 10 to 75 foot-pounds. Unfortunately, that’s not the right tool for this application, since torque wrenches aren’t especially accurate at the extremes of their range.
Instead, you want to use an inch-pound wrench, or the time-tested “touch-and-turn” method that’s often outlined on the plug box. You thread the plug in until it’s seated, then turn it another half to three quarters of a turn to compress the sealing ring and tension the plug threads. Keep in mind, this method only works for new plugs with a fresh washer.

Once the plugs are installed, you’re ready to press the coil sticks or plug boots back on. I like to wipe these rubber parts down with a rag misted with Maxima SC1 or a similar silicone-based aerosol. It conditions the rubber and also helps the coil’s business end and upper seal slip into place easier. You should feel or hear a pronounced click as you press the parts home.
Finally, you’re ready to reassemble the bike, but maybe not all the way. Put the tank and other essential components back on, then make sure the bike starts before slapping all the bodywork back on. That's a lesson I've learned the hard way.
Your spark plugs may be hidden beneath the tank and deep inside the cylinder head, but they shouldn't be ignored. Replace them at the recommended interval and you’ll be taking an important step in keeping our motorcycle running strong.
Image Gallery