Membership
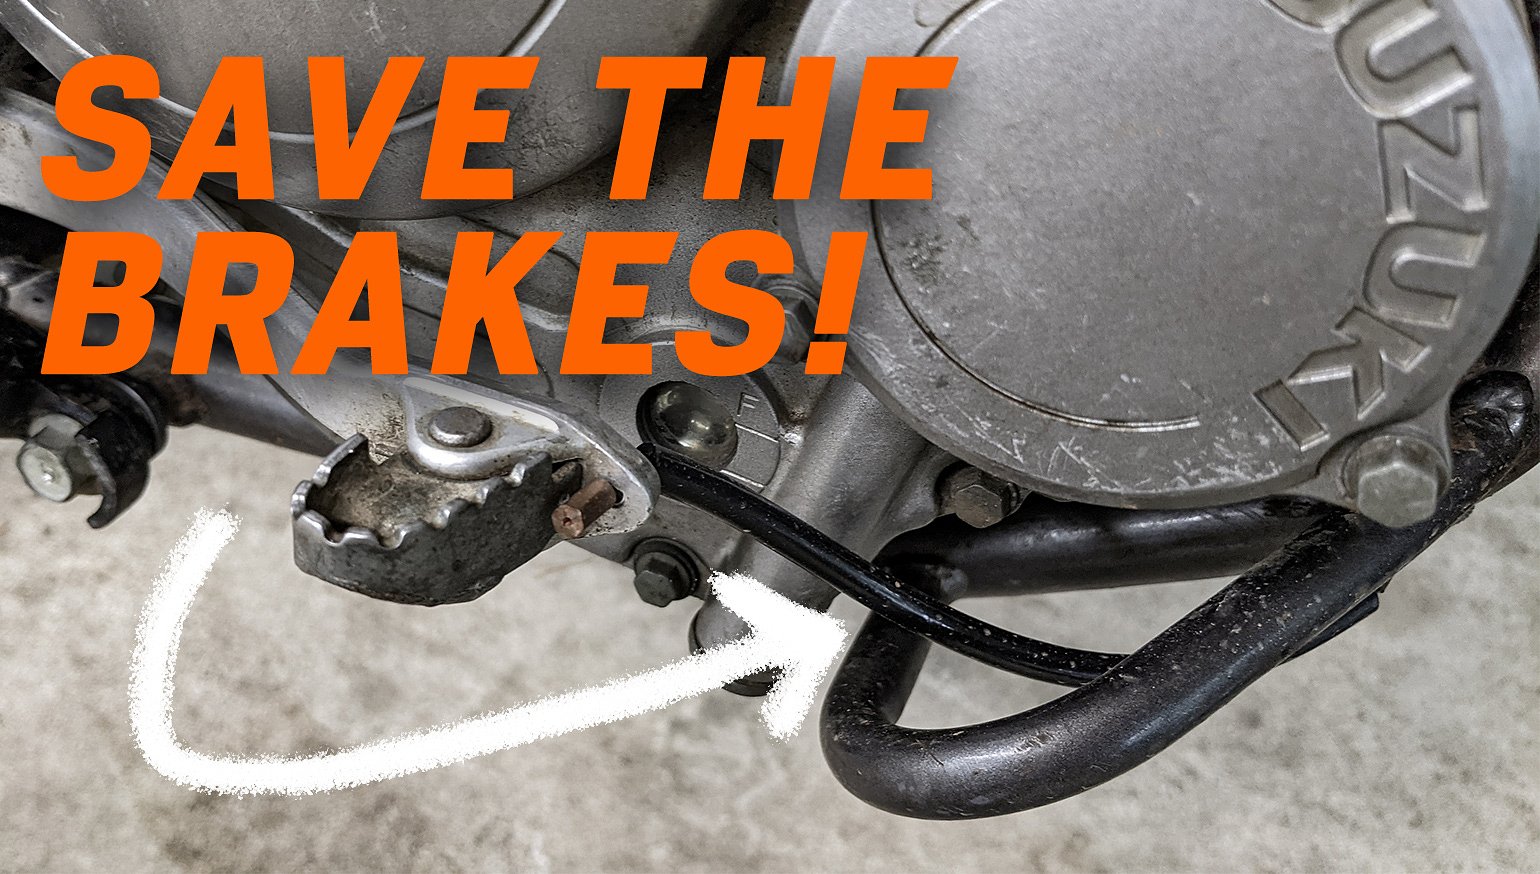
Brake snakes, also called brake savers or pedal anchors, protect your rear brake pedal from catastrophe on the trail.
Kits are cheap and easy to install. Alternatively, you can build your own with some basic hardware and steel cable. They're stone-simple and fairly effective.
First we’ll look at how they function, then we’ll walk through the installation process to prepare for a gnarly ride.
What is a brake snake?

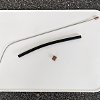
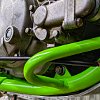
A brake snake tethers your rear brake pedal to your bike’s frame to prevent damage and jam-ups. A typical brake snake consists of a short length of braided steel cable, some crimp-on ferrules, and a cable sheath, often made of rubber tubing. Fancy brake snakes might have screw-on ferrules and mounting tabs that bolt onto the frame.
The basic idea is the same, regardless of design, so don’t get too hung up on choosing the “right” one. Off-road riders have used brake snakes since at least the early days of Baja racing to improve durability in technical environments. Some riders tether their shift levers, too.
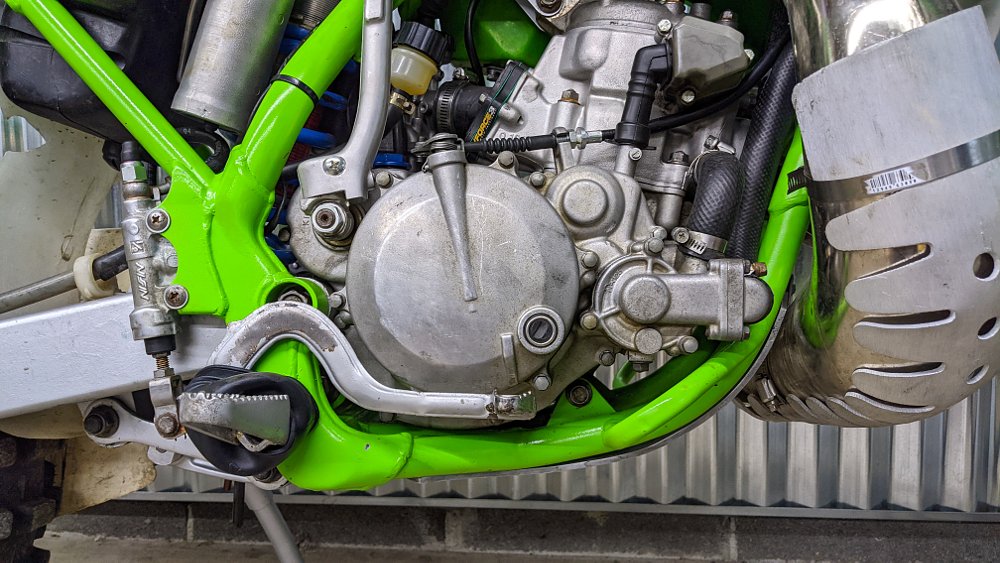
How does a brake snake work?
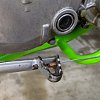
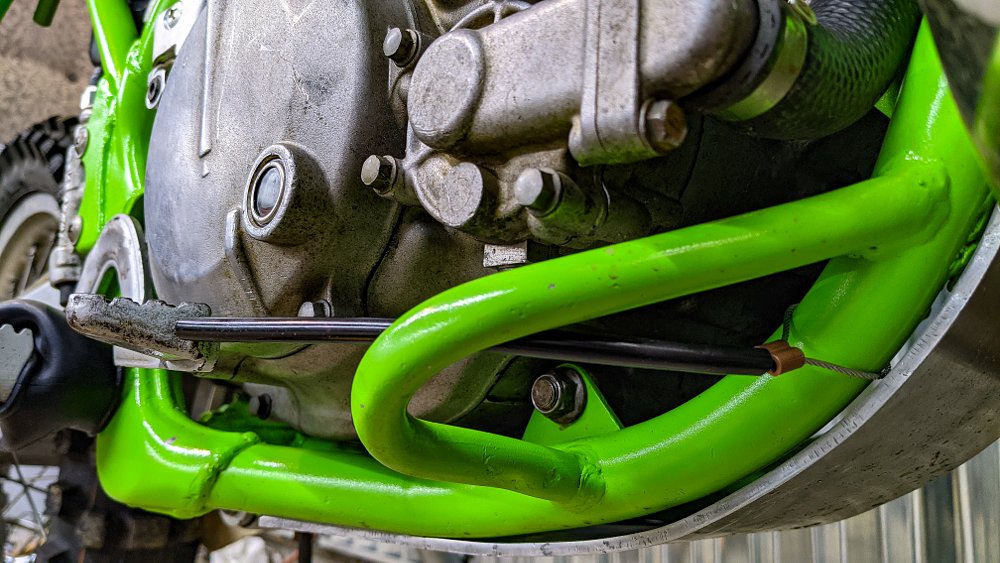
Properly installed, a brake snake leaves enough slack for free movement of the pedal, but not much more. Any outward bending of the brake pedal from a hard right-side crash is limited by the brake snake’s length. Sure, your pedal might bend an inch away from its usual location, but that’s miles better than a pedal bent back in a U, or tweaked out so far that the pedal, especially one made of aluminum, snaps. Brake snakes should improve your odds of finishing a ride or race after a big wipeout.
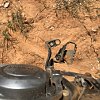
Brake snakes deflect debris, too. Ever get a stick or vine wedged between your bike’s brake pedal and frame? A jammed brake pedal is a safety issue, plus it saps some fun out of your ride. Brake snakes resist entanglements by blocking off the narrow gap inboard of the rear brake pedal. While it’s no guarantee of jam-free operation, a brake snake should shrug off the worst of it.
How to install a brake snake
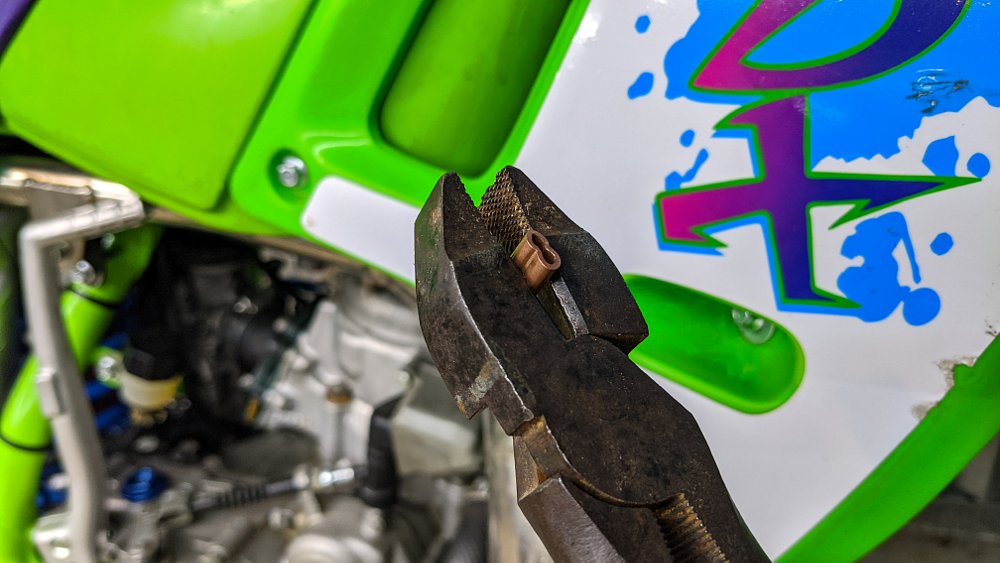
Adding a brake snake is an easy, quick modification that any dirt rider can handle. You’ll need a brake snake kit, a drill, a drill bit slightly larger than your cable diameter, and cutting pliers. (Electrician’s or lineman’s pliers work well. Of course, kits with screw-on ferrules need screwdrivers instead of pliers.)
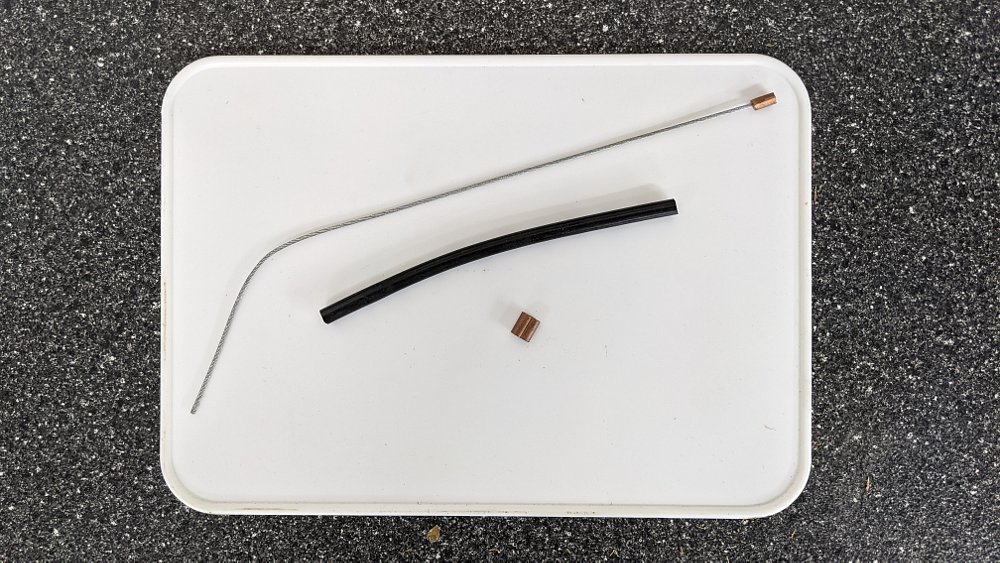
You can save a few bucks by recycling an old clutch cable into your own brake snake kit. Clutch cables already have a braided steel core, a tough outer sheath, and a ball end. All you need is a ferrule from your local hardware store to make the loop.
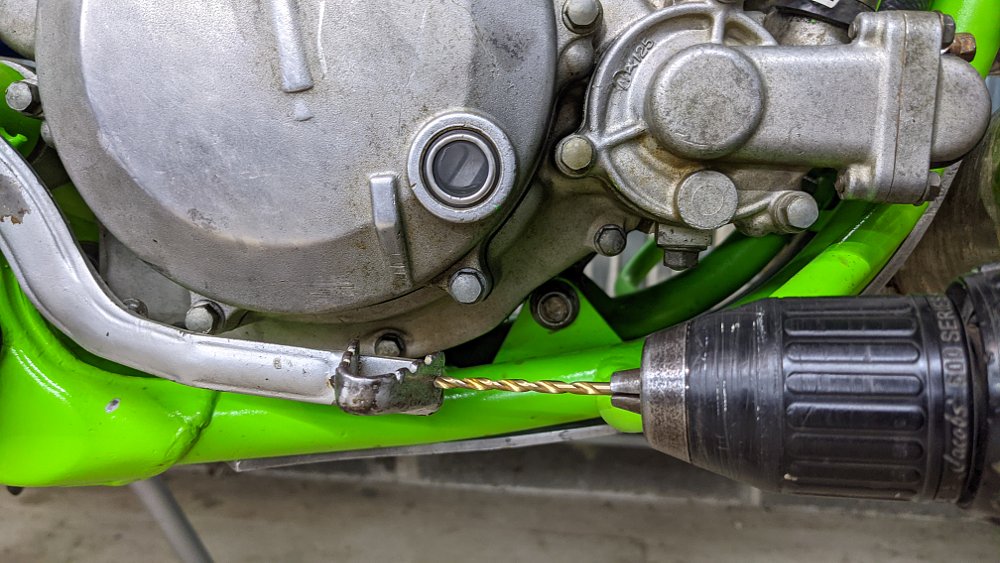
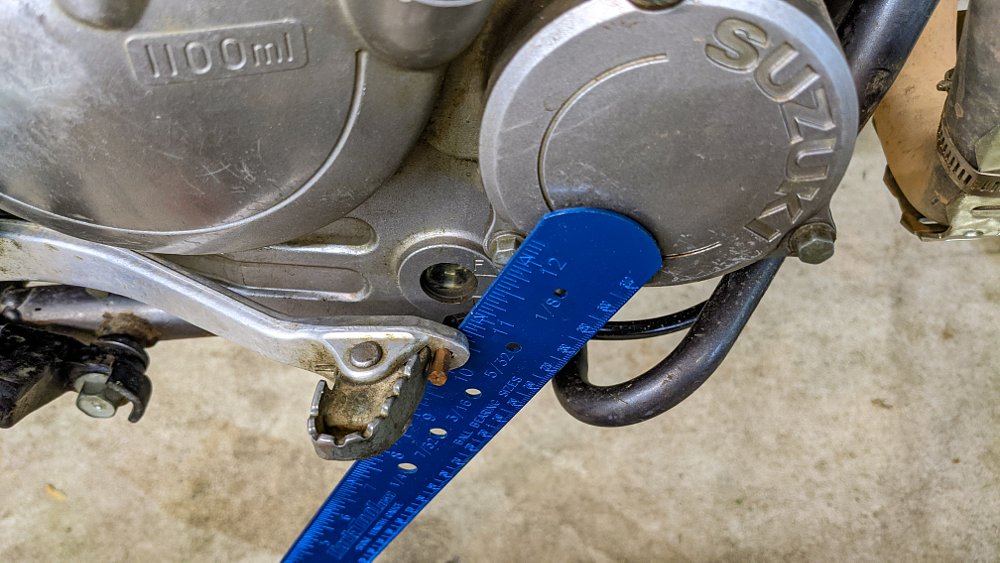
Find a spot on your brake pedal where you can drill a hole that barely fits the brake snake’s steel cable. Position the hole as far forward as possible. Some dirt bikes already have a hole through the rear brake pedal for this purpose. Slide the steel cable through as we move on to the mockup step.
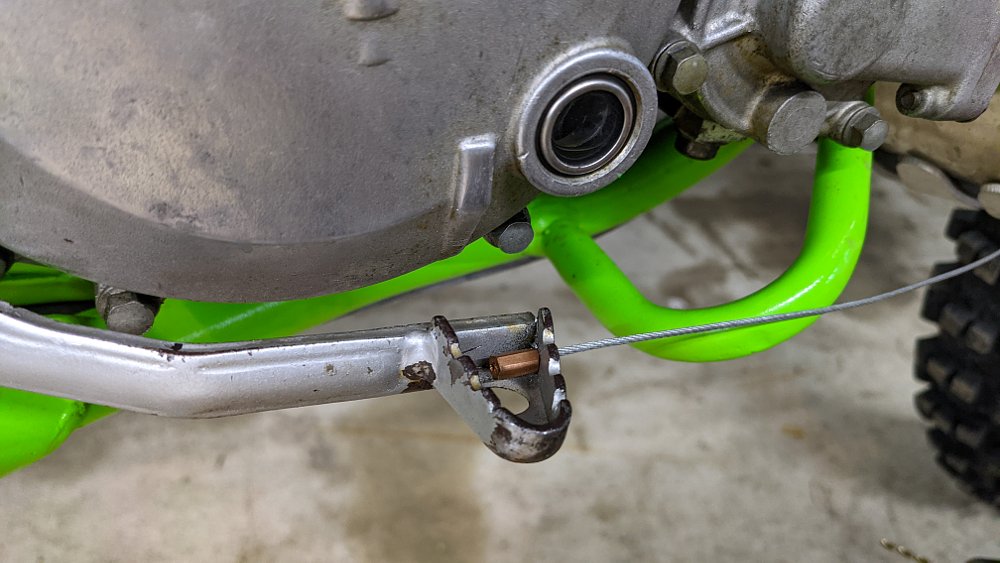
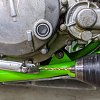
Proper brake snake placement satisfies three conditions: a full range of pedal movement, a secure mount on the frame in front of the pedal, and full blockage of the vulnerable pedal-frame gap. Try a few different cable mounting positions until you find the sweet spot — better too slack than too tight.
Once you have a location picked out, trim the protective sheath if necessary, then slide the sheath onto the cable, followed by the ferrule. Feed the cable end into the ferrule to complete the frame loop, then crimp the ferrule to secure your new brake snake. Cut away any excess and hit the trail after confirming that your brake pedal has a full range of motion.
This whole process takes a few minutes with basic hand tools, and it could save your next day in the dirt. Have fun out there!